|
Advanced Options |
  

|
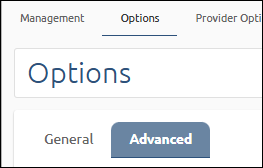
Navigation: Administrative Options > Options >
Advanced Options
|
Advanced Options |
|
Use the Options screen to customize your wire options. The screen has two tabs: General and Advanced. This section explains the Advanced Options.
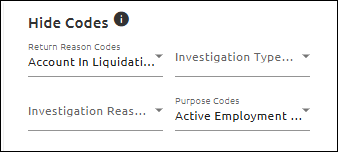
Hide Codes
Use the Hide Codes fields to select codes that will not show as options in other EFT GOLD locations.
To jump to a code in the list:
1.Click on the drop-down arrow to open the list.
2.Type the first letters of the code you want to remove.
Flag Wires
You can add flags to wires for visual queues and to filter wires on both the Dashboard and reports.
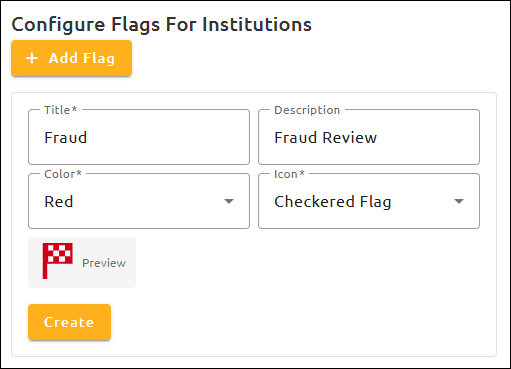
To set up a flag:
1.Click on the Advanced tab on the Admin Options screen.
2.Click the <Add Flag> button to open the fields to set up a new flag.
3.Enter a Title, Color, and Icon (required). You can also add a Description (optional).
When making new flags, the Title must be unique; a Title cannot be used on more than one flag. Colors and Icons can be used for multiple flags if the Title is different.
4.Select a Color and Icon.
A preview box will appear showing what the icon will look like on the Dashboard.
5.Once all required fields have been entered, click the <Create> button to save the new flag.
Once one or more flags have been created, they can be assigned to wires.
1.On the Dashboard, select one or more wires.
2.Click <Wire Flags>.
3.On the drop-down list, select all flags to be added to the wire.
4.Click the <Add These> button.
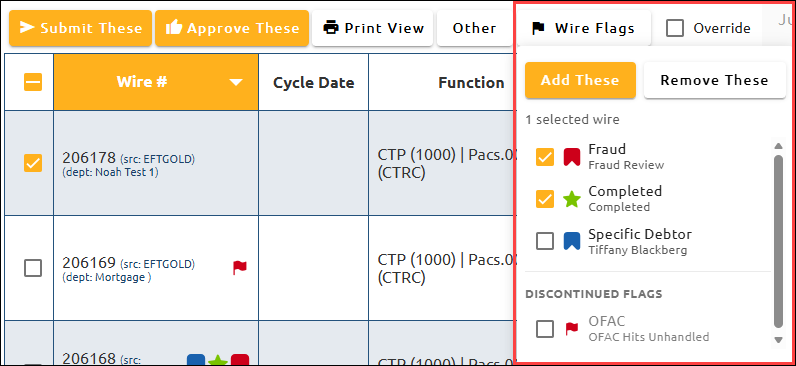
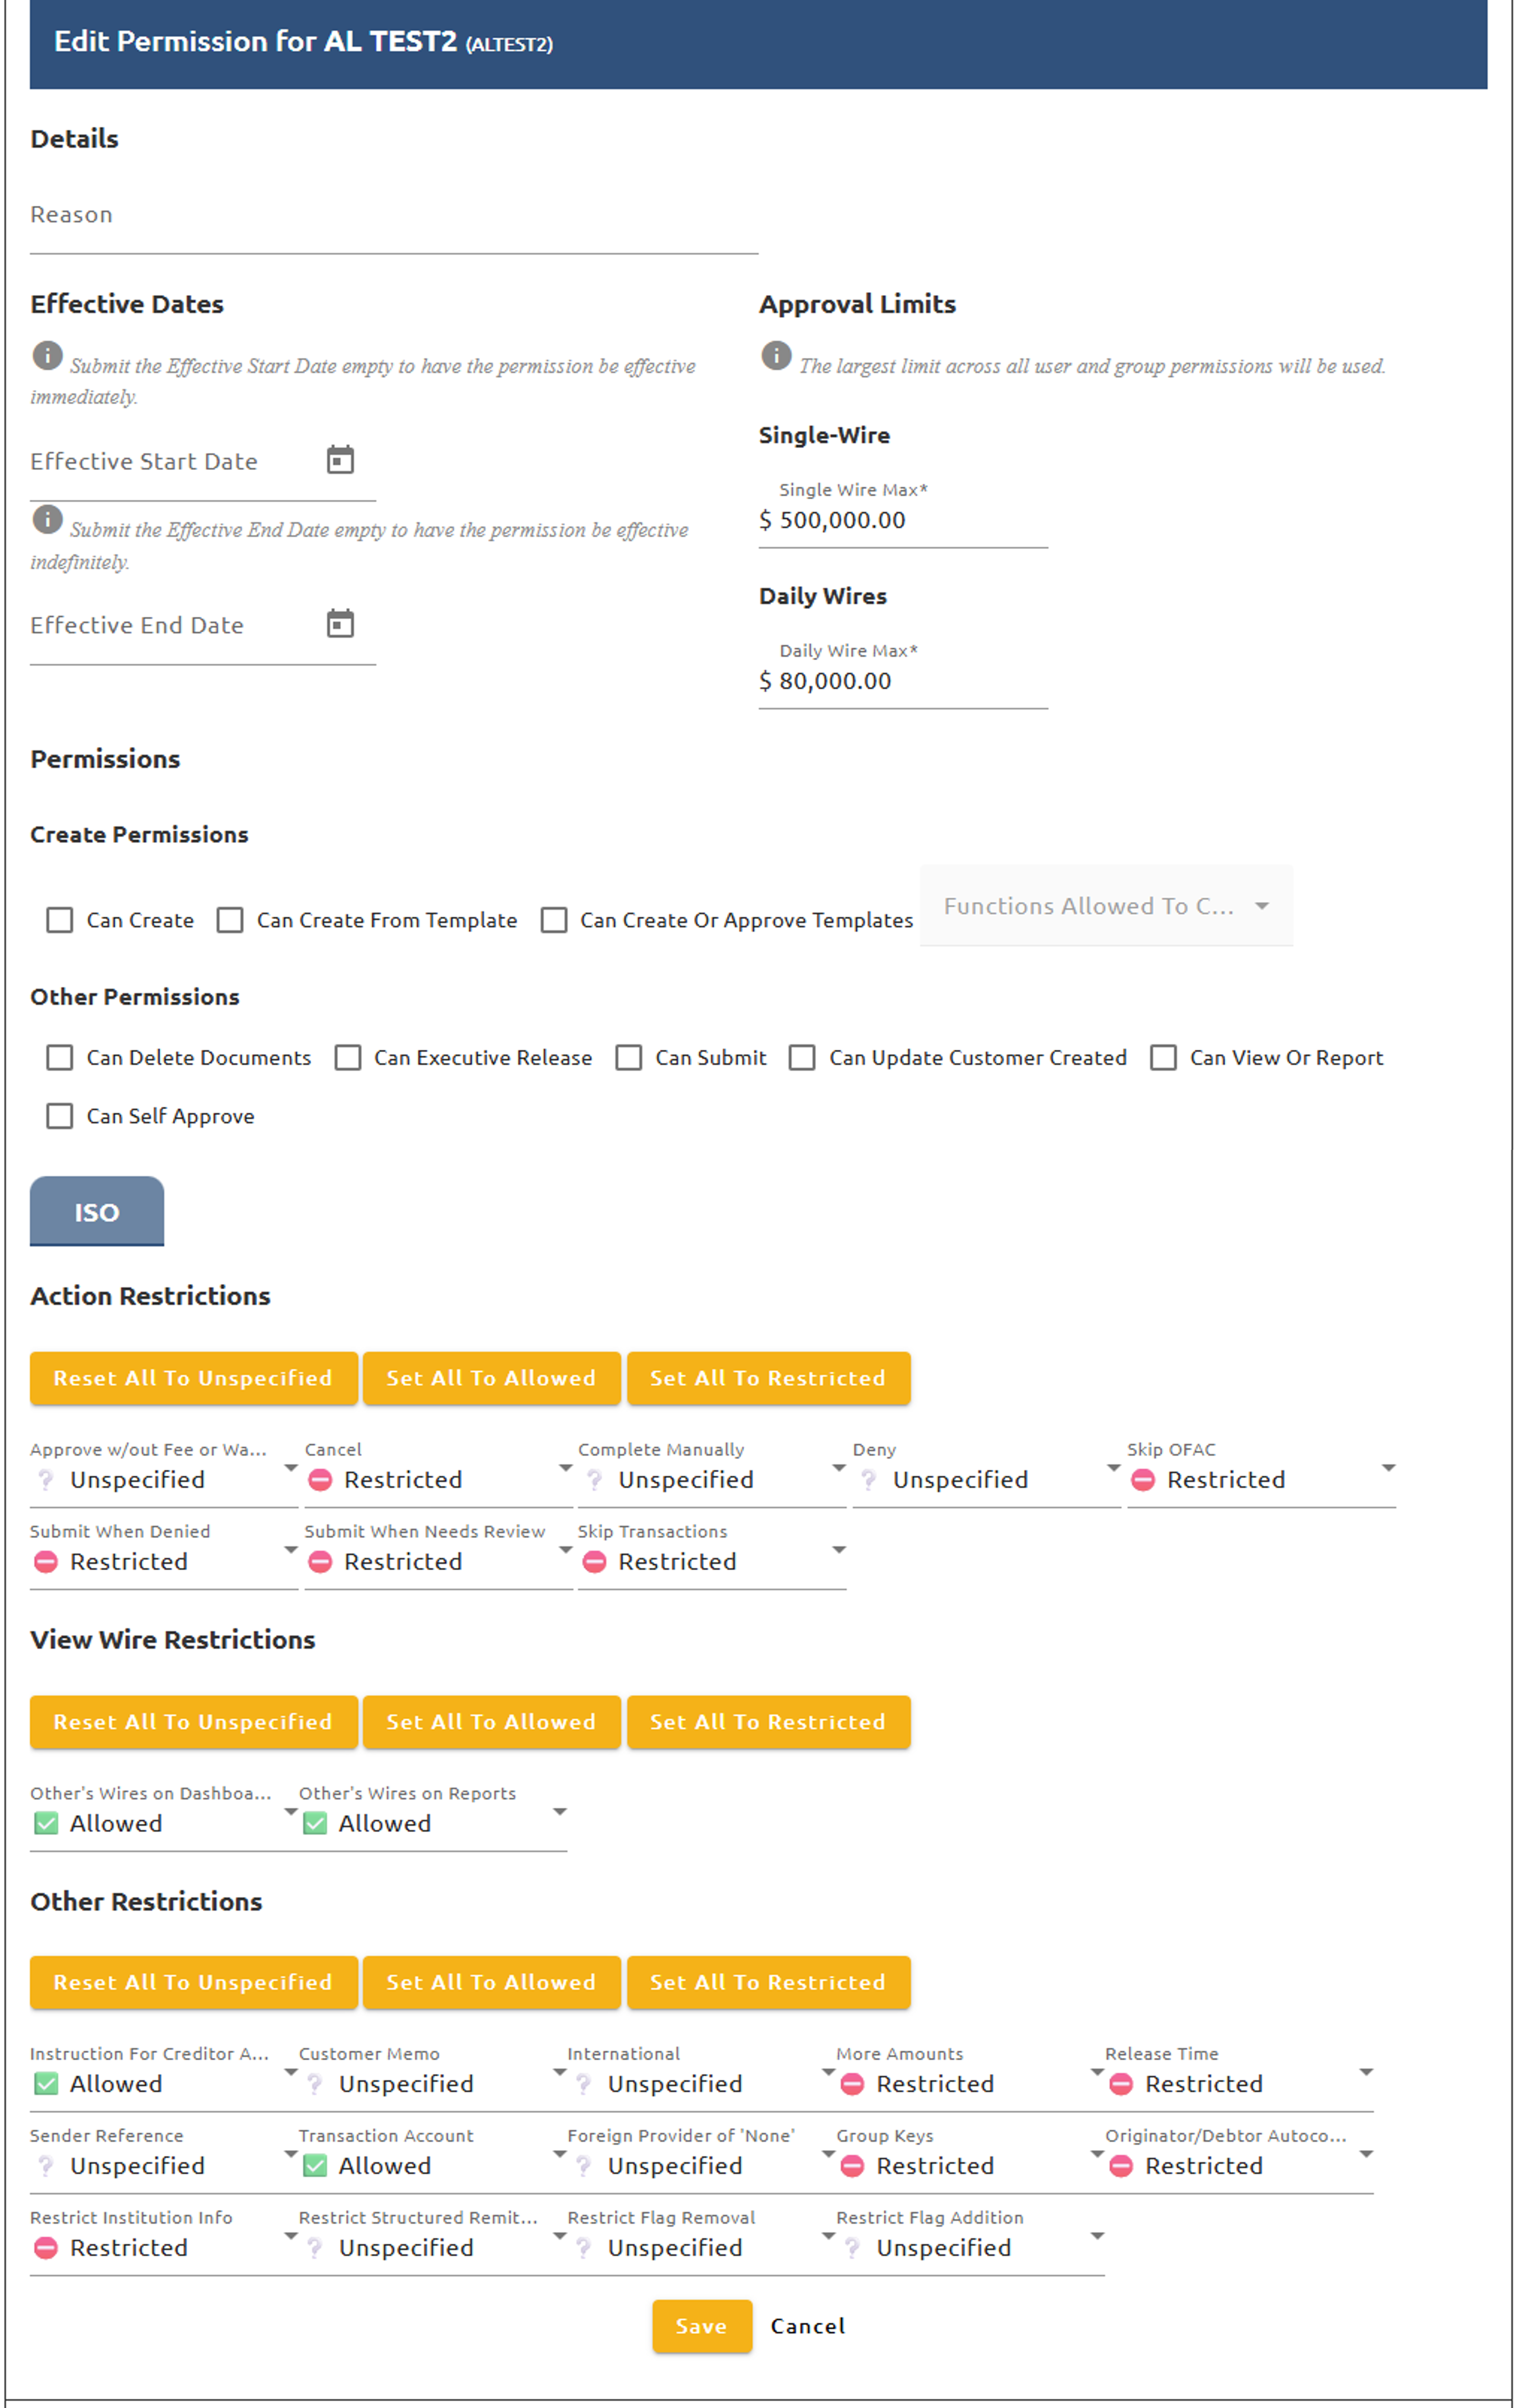
Two restrictions can be applied to adding and removing a Flag (see the example below). If Restrict Flag Removal is set to "Restricted," the user will not be able to remove a flag from a wire. If Restrict Flag Addition is set to "Restricted," the user will not be able to add a flag to a wire.