Setting Up GOLDTrak PC |
  

|
Navigation: GOLDVault User Guide > GOLDTrak PC >
Setting Up GOLDTrak PC |
|
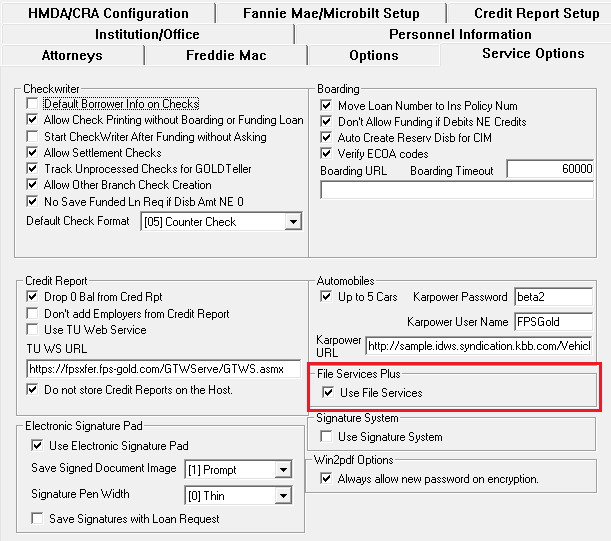
To enable GOLDVault in GOLDTrak PC, the GOLDVault institution option needs to be set. This is necessary to keep GOLDTrak PC from trying to connect when it is not set up for GOLDVault. The option, Use File Services, is found in Institution/Office Setup under the Service Options tab in GOLDTrak PC Setup.
If your institution chooses, you can set up some or all documents to be attached automatically in a particular category, subcategory, and file type. This can be done at the program level or in GOLDTrak PC Setup. You can have your account manager set up documents at the program level. This will take precedence over documents that you set up in GOLDTrak PC Setup. In either case, once a document is set up, all occurrences of that document will automatically be put in the same category, subcategory, and file type.
To automatically attach all documents
1.On the GOLDTrak PC Setup screen, select Documents from the Design Setup menu.
2.Double-click on the document you want to set.
3.Right-click in the document to open the Document Properties dialog. (See the example below.)
4.Click on File Services Category. This will display a drop-down list in the right-hand column.
5.Double-click on the category you want. If you do not want a property, select the blank at the top of the drop-down list.
6.Follow the same procedure for File Services SubCategory and File Services FileType.
7.When you have these three items as you want, click the <Close> button (X) in the upper right-hand corner of the dialog.
If the category, subcategory, or file type properties that you want are not available, you can add new properties. See the sections Manage Categories Screen, Sub-Categories Screen, or File Types Screen for information on adding properties for each.
|
Next topic: Connecting to GOLDVault from GOLDTrak PC |
|
Previous topic: GOLDTrak PC |