Creating MICR Checks for Use in CIM GOLDTeller |
  

|
Navigation: Setup > Administrator Options > MICR Check Printing >
Creating MICR Checks for Use in CIM GOLDTeller |
|
CIM GOLDTeller Functions menu > Administrator Options > MICR Check Form Designer
In order to print MICR checks from CIM GOLDTeller, you must use the MICR Check Form Design to create how you want the MICR checks to look and print. This function is similar to other check formatting programs within CIM GOLD (Deposits Check Printing, Loans Check Printing, Accounts Payable Check Printing).
To design a new MICR check:
1.Click Functions > Administrator Options > MICR Check Form Designer in CIM GOLDTeller to open the MICR Check Form Design screen. See the following example:

CIM GOLDTeller > Functions menu > Administrator Options > MICR Check Form Designer
| 2. | Click <New Format> to design a check from scratch. |
3.Or click <Copy Format> if you want to copy an already-saved format, make changes to it, and save it with a new format number. The fields in the Format Settings field group are now editable, as shown below.
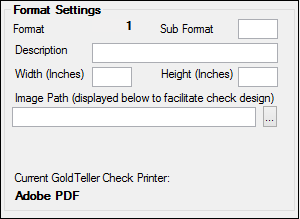
4.The Format field is prefilled with a system-entered format number. Enter a number you want to assign to this check format in the Sub Format field.
5.Enter a description for that format in the Description field (such as bank checks, subsidiary checks, cashier's checks).
6.Enter the Width and Height for this check format. You can find the information for the width and height on the outside of the box your checks come in.
7.For easier field alignment in the format area, an image of one of your checks can be placed in the background. You can scan and save one of your existing checks as an image in .jpg, .png, .bmp, or other image format. Click the browse button ![]() under Image Path (displayed below to facilitate check design) and find where you saved the check image. The image is only for formatting purposes. This image will not appear on printed checks.
under Image Path (displayed below to facilitate check design) and find where you saved the check image. The image is only for formatting purposes. This image will not appear on printed checks.
8.The Current GoldTeller Check Printer field displays the default printer where the checks will be printed. If you want to change this printer, you will need to change your Windows default printer. For more information on how to change your default printer, see the <F1> help from your Windows desktop and search for "change default printer."
NOTE
You must use a laser printer to print MICR encoded checks, because MICR encoding must be printed with a special magnetic ink only available for laser printers. (This is a legal requirement of the Check 21 Act.) |
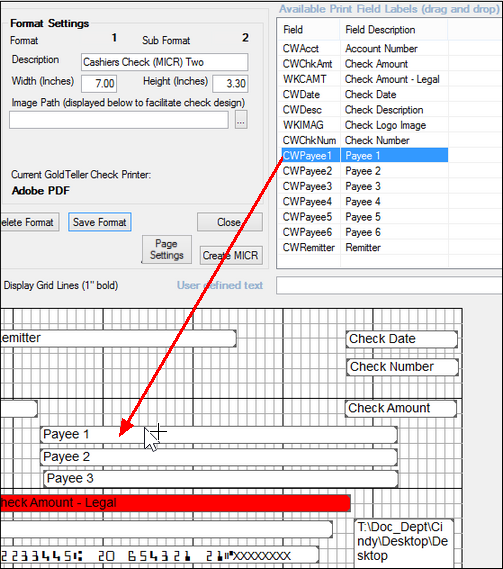
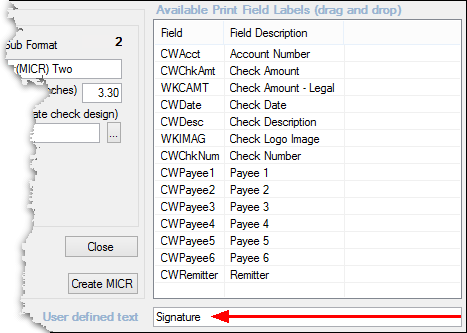
9.Select the fields you want on the check grid by dragging and dropping the fields listed in the Available Print Field Labels box into the grid view, as shown below. Place the field where you want it to print on the check.
10.Once the field is placed on the check grid, you can manually drag on the sides and top of the field box to increase or decrease the size of the field. Or you can right-click the field box and manually enter the size of the box in the Width and Height fields on the Sizeable Label Properties, as shown in the following example.
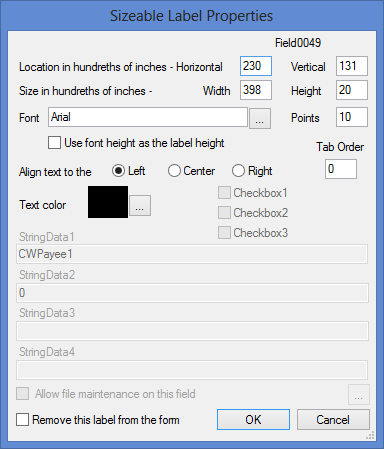
11.To delete a field on the check grid that you no longer want, click it and then press the <Delete> key on your keyboard. Or right-click on the field box, and check the Remove this label from the form box on the Sizeable Label Properties box.
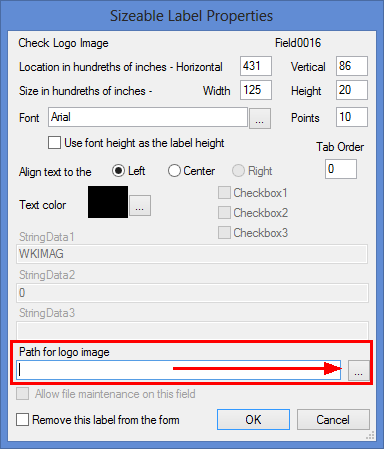
| C TIP: | For graphical fields, such as a check logo image (WKIMAG) or a signature, you select where the system pulls the graphic by right-clicking the graphic field on the grid. This causes the Sizeable Label Properties box to be displayed, as shown below. Notice that the Path for logo image field is available (this field only appears for graphic fields). Click the browse icon |
12.Continue adding fields to the check grid in the places you want those fields to print on the actual check.
NOTE
You can add custom messages or labels by using the User defined text box, and then dragging and dropping that information into the grid, as shown below. This can be done multiple times to add any data you want to the check. |
13.When all fields have been added and the check looks correct, click <Save Format>.
| The <Create MICR> button is enabled when you click <Save Format>. |
14.Click <Create MICR>, enter the MICR number that will print on the bottom of the check, then click <Save Format> again. For more information on this feature, see Create MICR Line.
15.Click <Page Settings> and select the page size for check printing. You can select either Letter (8.5 x 11") or Legal (8.5 x 14").
16.Click <Print Preview> or <Print Test> to see what your check format will look like. In the example below, the field Display Grid Lines (1" bold) was selected.
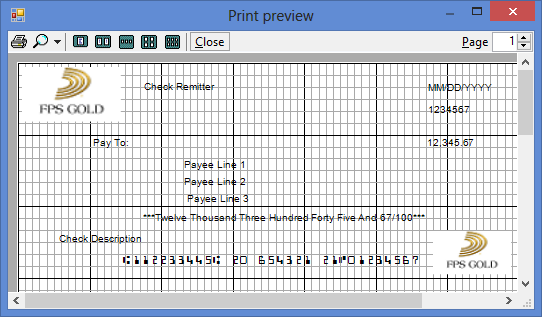
Now you can set up a check range to use this format and run transactions for these MICR checks.
See Also:
Set Option to Print MICR Checks
Running Transactions for MICR Checks