Navigation: VitalView GOLD > VitalView Dashboard >
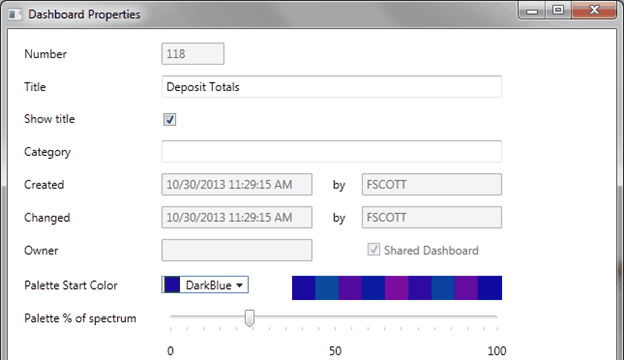
New dashboards can be created by clicking on the New Dashboard menu item. This will cause the Dashboard Properties dialog to be displayed for the new dashboard. (See the example below.) Here you can name the dashboard, assign it to a category, select a color scheme, and choose whether the dashboard will be personal or shared. The Dashboard Properties dialog can also be displayed for an existing dashboard by clicking on the Dashboard Properties menu item. All options can be modified for existing dashboards except the personal/shared option. But remember that personal dashboards can be copied to the shared collection and vice versa using the Open Dashboard dialog. FPS GOLD also has a variety of dashboards that can be copied to your account.

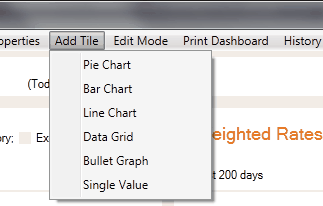
You can add tiles to a dashboard by clicking on the Add Tile menu item (see below). You can then choose the type of tile to add. Tile types are pie chart, bar chart, line chart, single value, grid, and sparkline with bullet graph. The new tile will be added to the dashboard and will initially be blank. Resize a tile by dragging its edges, move a tile by dragging its center, and delete a tile by right-clicking on the tile and selecting Delete Tile. You can also copy a tile and all its settings by right-clicking on the tile and selecting Copy Tile, then right-clicking on the dashboard and selecting Paste Tile.

After you've made changes, click the Save Dashboard menu item to save your changes.
|
Next topic: Creating a Tile's Display |
|
Previous topic: Using an Existing Dashboard |